Welcome to our comprehensive guide on how to apply ceramic coating like a pro! If you’re looking to protect your vehicle’s paint and achieve that high-end, glossy finish, ceramic coating is the way to go. In this article, we will walk you through the step-by-step process of applying ceramic coating, providing you with expert tips and techniques that will help you achieve professional results.
Why Choose Ceramic Coating?
Before we dive into the application process, let’s quickly discuss why ceramic coating is worth considering. Ceramic coatings offer unmatched protection against UV rays, oxidation, and chemical contaminants, ensuring that your vehicle’s paint remains pristine for an extended period. They also provide hydrophobic properties, making it easier to clean and maintain your vehicle’s appearance.
Step 1: Preparation is Key
To ensure a flawless ceramic coating application, proper preparation is crucial. Here’s what you need to do:
- Thoroughly wash your vehicle: Start by giving your vehicle a comprehensive wash using a pH-neutral car shampoo. This will remove any dirt, grime, or residue that could interfere with the bonding of the ceramic coating.
- Decontaminate the paint surface: Next, you’ll want to clay bar the paint surface to eliminate any embedded contaminants like tar or tree sap. This step ensures a smooth surface for the ceramic coating to adhere to.
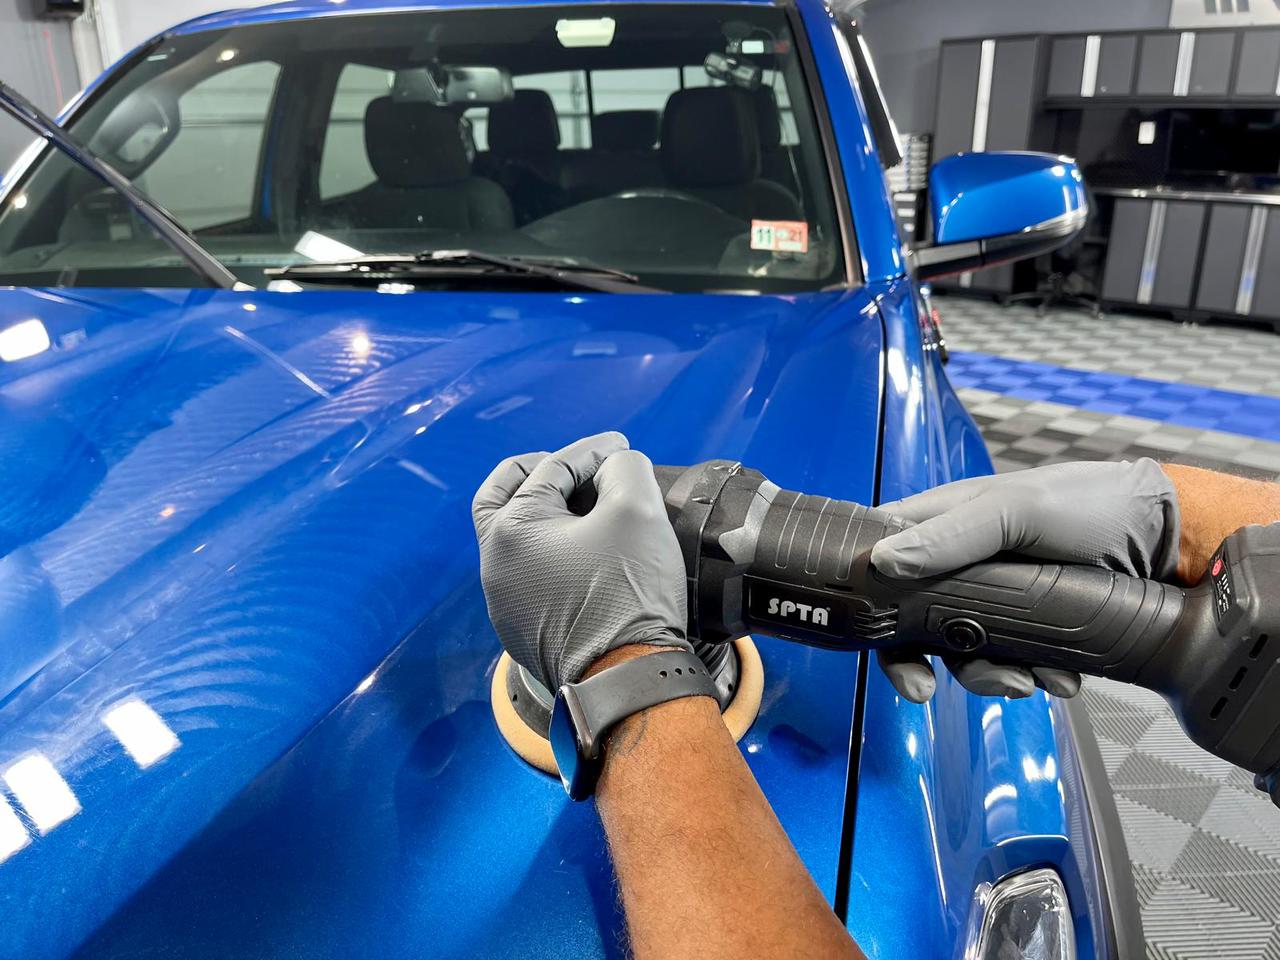
- Paint correction (if necessary): If your vehicle has any swirl marks, scratches, or imperfections, it’s recommended to perform paint correction before applying the ceramic coating. This will enhance the overall appearance of your vehicle and maximize the coating’s effectiveness.
Step 2: Applying the Ceramic Coating
Once your vehicle is prepped and ready, it’s time to apply the ceramic coating. Follow these steps for optimal results:
- Work in small sections: Start by dividing your vehicle into manageable sections, such as the hood, roof, doors, and panels. This approach ensures that you can work efficiently and maintain control throughout the process.
- Apply the coating: Put a few drops of the ceramic coating onto an applicator pad or microfiber cloth. Apply the coating in a thin, even layer, using overlapping motions. Remember, a little goes a long way, so avoid applying excessive amounts.
- Allow for curing: After applying the ceramic coating to a section, let it cure for the recommended time specified by the manufacturer. Typically, this ranges from a few minutes to several hours. Curing time may vary based on the specific product and environmental conditions.
- Remove excess coating: Once the coating has cured, use a clean microfiber cloth to remove any excess product, gently buffing the surface until it appears smooth and streak-free.
Step 3: Post-Application Care
Congratulations! You’ve successfully applied the ceramic coating to your vehicle. To ensure long-lasting results, follow these post-application care tips:
- Avoid washing for the first 48 hours: Give the coating ample time to fully bond with the paint surface by refraining from washing your vehicle for at least 48 hours after application.
- Use pH-neutral products: When it’s time to wash your coated vehicle, opt for pH-neutral car shampoos and avoid harsh chemicals or abrasive brushes that could potentially damage the coating.
- Regular maintenance: While ceramic coatings offer excellent protection, they are not invincible. To extend their lifespan, it’s essential to regularly maintain your vehicle’s appearance by washing it regularly and removing any contaminants promptly.
- Consider periodic reapplication: Depending on the specific ceramic coating product you choose, it may be necessary to reapply the coating every 1 to 2 years. Be sure to check the manufacturer’s recommendations for the best
timeframes and guidelines regarding reapplication.
Step 4: Additional Tips for Professional Results
To truly achieve that professional-grade finish, here are some additional tips to keep in mind:
- Temperature and humidity: Ideally, the application should be performed in a controlled environment with moderate temperatures and low humidity. Avoid applying the coating under direct sunlight or in extremely hot or cold conditions, as this can affect the curing process.
- Practice proper technique: Consistency and technique play a significant role in achieving a flawless result. When applying the coating, ensure your movements are smooth, even, and consistent. Avoid rushing or applying excessive pressure, as this can lead to uneven application.
- Multiple layers: For enhanced durability and protection, consider applying multiple layers of ceramic coating. This can be done by repeating the application process after the initial coat has cured. However, be sure to follow the manufacturer’s instructions regarding the recommended number of layers.
- Seek professional assistance if needed: While applying ceramic coating can be a rewarding DIY project, if you’re unsure or lack experience, it’s always a good idea to consult with a professional detailer who specializes in ceramic coating. They can provide expert guidance and ensure the best possible outcome.
In Conclusion
Applying ceramic coating like a pro requires attention to detail, proper preparation, and the right techniques. By following the step-by-step process outlined in this guide, you’ll be well on your way to achieving a showroom-worthy finish that not only protects your vehicle’s paint but also gives it that coveted high-end shine.
Remember, the key to success lies in meticulous preparation, precise application, and consistent maintenance. By investing the time and effort into properly applying ceramic coating, you’ll enjoy the benefits of long-lasting protection and a stunning finish.
So, go ahead and give your vehicle the professional treatment it deserves by applying ceramic coating like a pro!
– Cleaning, decontamination, and blow dry of exterior features. This includes paintwork, glass, emblems, plastics, and rubber features. We use chemical and Clay-Bar treatment to remove embedded grit and iron particles for a thorough clean.
– Deep cleaning tires, wheels, and wheel arches and dressing tires to a satin finish
– Cleaning, drying, and dressing engine compartment top surfaces with 303 Aerospace Protectant
– Treating any black textured plastics with a restoring protective
– Cleaning of all exterior glass, plus the windshield is polished and then protected with Rain-X
– Each panel on the body of your vehicle is compounded and polished with a 2-3 step process to polish away swirls, haze, and scratches in the paint
– Applying a protect sealant to the paint to provide protection for up to 6-8 months
– Protecting clear coated wheel faces with a high temperature sealant